

3d Studio · Keyframes · 4 min read
Animate with keyframes
Keep Rec on in ls.graphics 3d Studio, move the playhead and change Y Rotation to place keyframes, then read them as Object channels in Pro Mode.
To animate a mockup with keyframes in ls.graphics 3d Studio, keep Rec on, move the playhead along the timeline and change a value such as Y Rotation in the Object panel. Every change places a keyframe, and Pro Mode lists the Object channels that hold them. Result: three keyframes at 0, 1 and 2 seconds on a 3-second shot, with Y Rotation moving from 25° to −25°.
Choose a mockup and check Rec
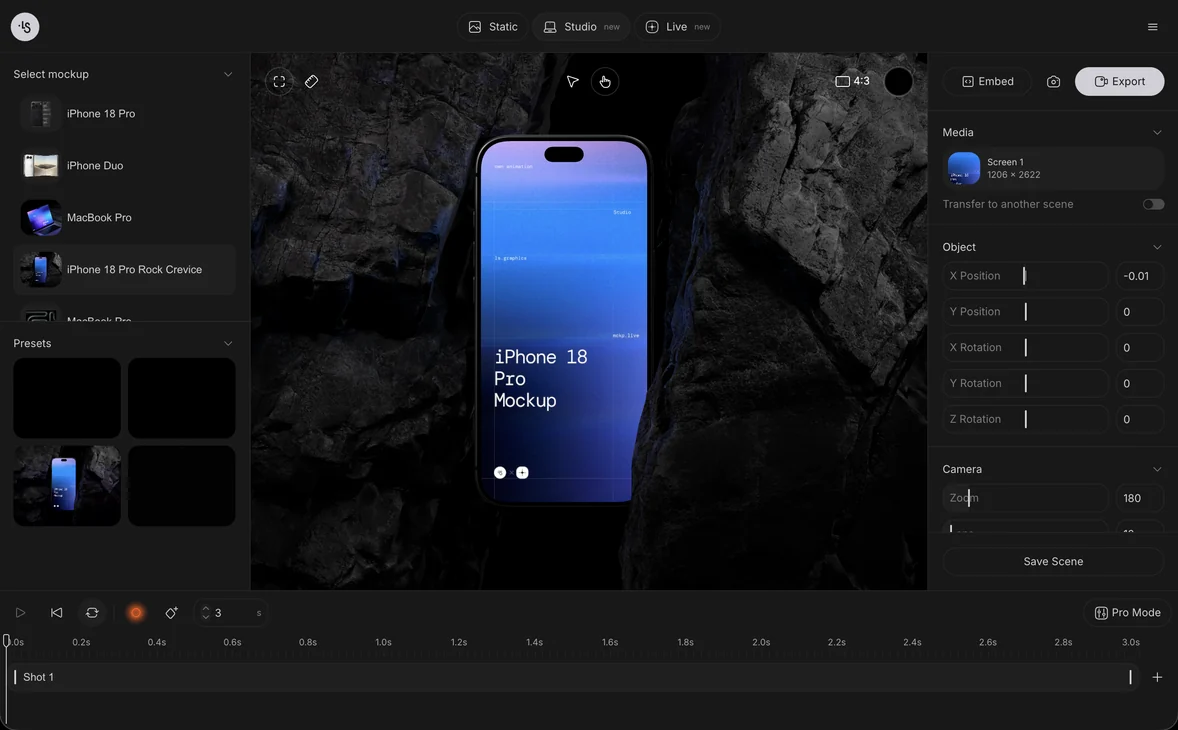
Open 3d Studio and click iPhone 18 Pro Rock Crevice under Select mockup. The timeline shows Shot 1 at 3 seconds with no keyframes. See Choose a preset or a model for how the two differ.
The orange circle between the loop button and the diamond button is Rec. It is on when the editor opens, so a change in the right panel becomes a keyframe.
Set the first keyframe
With the playhead at 0.0s, type 25 in Y Rotation in the Object panel and press Enter. A diamond appears at the start of the row under Shot 1.
Move the playhead and key again
Click the ruler at 1.0s to move the playhead there. Type −25 in Y Rotation and press Enter. A second diamond appears at 1.0s, and the phone turns the other way.
Add a keyframe with the button
Click the ruler at 2.0s, then click Add a keyframe at the playhead. A third diamond appears at 2.0s with the pose the scene has at that moment.
Read the channels in Pro Mode
Click Pro Mode at the right end of the timeline controls, then expand Object. Its rows Position and Rotation each show a diamond at 0, 1 and 2 seconds. Click Auto Mode to return to the single row.
Add a shot
Click the plus button at the end of the Shot 1 row. Shot 2 appears after it and the timeline grows to 6 seconds. Shot 1 keeps its three keyframes.